How To
How to improve image lighting quality with Adobe Lightroom
- September 8, 2022
- Updated: April 7, 2024 at 9:10 AM
After lens construction and quality, proper lighting is the most crucial element for producing refined, high-quality images. Every professional photographer will tell you the best approach to ensuring a properly exposed image is to find the results you want in-camera. Nevertheless, they all understand that suitably lighting a subject isn’t always possible. Even the most skilled photographers struggle to set up the perfect shot in-camera 100% of the time.
So many different environmental factors exist that can potentially impact the lighting of your photographs. Unless you’re constantly working in a controlled studio setting, you’ll invariably come to rely on postproduction editing techniques to save your less-than-perfect shots. If you’re wondering how to bring poorly lit photos back to life, we’ll walk you through the best techniques for fixing your pictures with bad lighting in Adobe Lightroom in the five simple steps to follow.
Set up your pictures in-camera
Even when shooting on the fly, there are steps you should take in advance to guarantee the highest quality of lighting. Unless a photographer faces data storage constraints, most professionals and advanced amateurs shoot in the RAW format. This file format lets you capture as much information as possible, including the diverse qualities of the existing light.
Understand how to interpret your camera’s light meter and compensate for any reading that might be slightly off. For the most accurate results, try using a professional-grade external light meter to identify the proper shutter speed, aperture, and ISO settings. External meters help to optimize the detail in the shadows and highlights while giving you a precise reading of the ambient light.
Modify the exposure
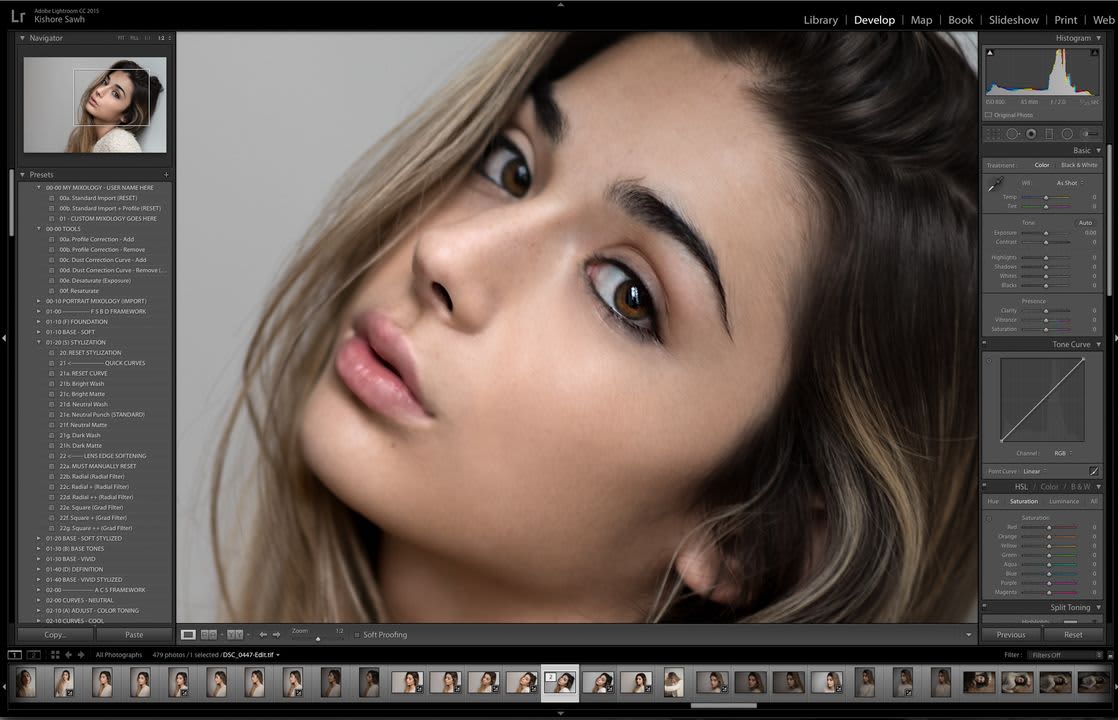
Assuming you’ve followed the first step closely, you should find that most of your photos are properly exposed. However, even after paying careful attention to your camera settings, you’ll still encounter photos in which the lighting is off. Start correcting your badly lit images by setting the exposure in Adobe Lightroom. Launch Exposure by right-clicking the image and then selecting Edit In.
If the entire image is underexposed, a simple downward adjustment to the exposure slider may suffice. However, when you have contrasting light sources, such as a shaded foreground against a bright background, you’ll quickly notice the well-lit portions of the image look blown out. In a case like this, follow the next step to restore any specific areas where overexposure or underexposure rendered a loss of image detail.
Correct your clipped highlights and shadows

When you adjust your clipped Highlights and Shadows, you’re able to target specific areas of your image that have either gone black because of underexposure or the “hot,” overexposed portions of the image that have turned white. Lightroom is among the best solutions for adjusting clipped Shadows and Highlights and can do wonders for restoring lost image details.
Either right-click the image again to pull up Lightroom’s editing tools and features, or locate the basic panel in the Develop Module below the Histogram display. When you expand this panel, you’ll reveal all the basic controls in Lightroom. Find the Highlights and Shadows adjustment slider. Begin by decreasing the Highlights, moving the slider to the left. This lowers the intensity of the highlights in the overexposed areas of your image. To identify the brightest and darkest areas of your images, access the Whites and Blacks slider. These tools help you find the underexposed and overexposed sections of your photo.
Enhance the image contrast
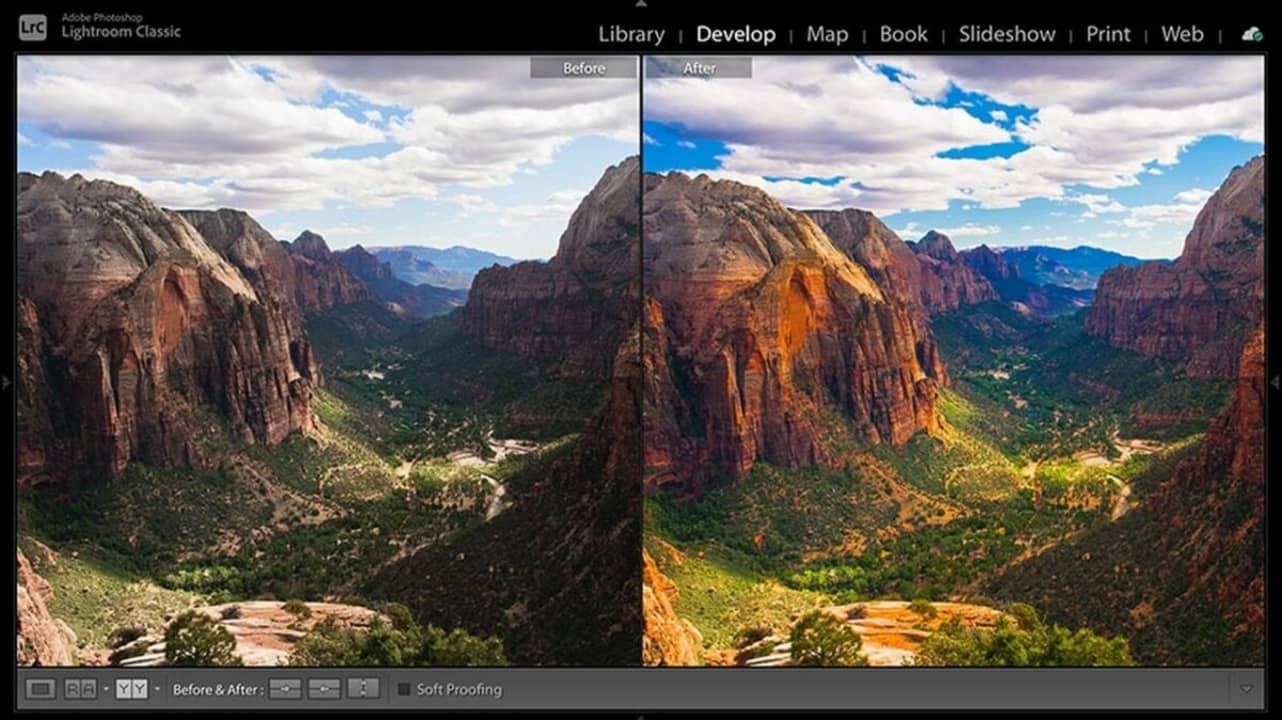
Whenever you make adjustments to elements like the highlights and shadows of your photos, you will lose the original contrast. To restore it, locate the Contrast slider. Use this tool to increase or lower the contrast until it starts to look more like the original image file. Alternately, try using Tone Curve to help you choose which range of image tones you should alter, including your contrast, highlights, and shadows.
Fix the white balance
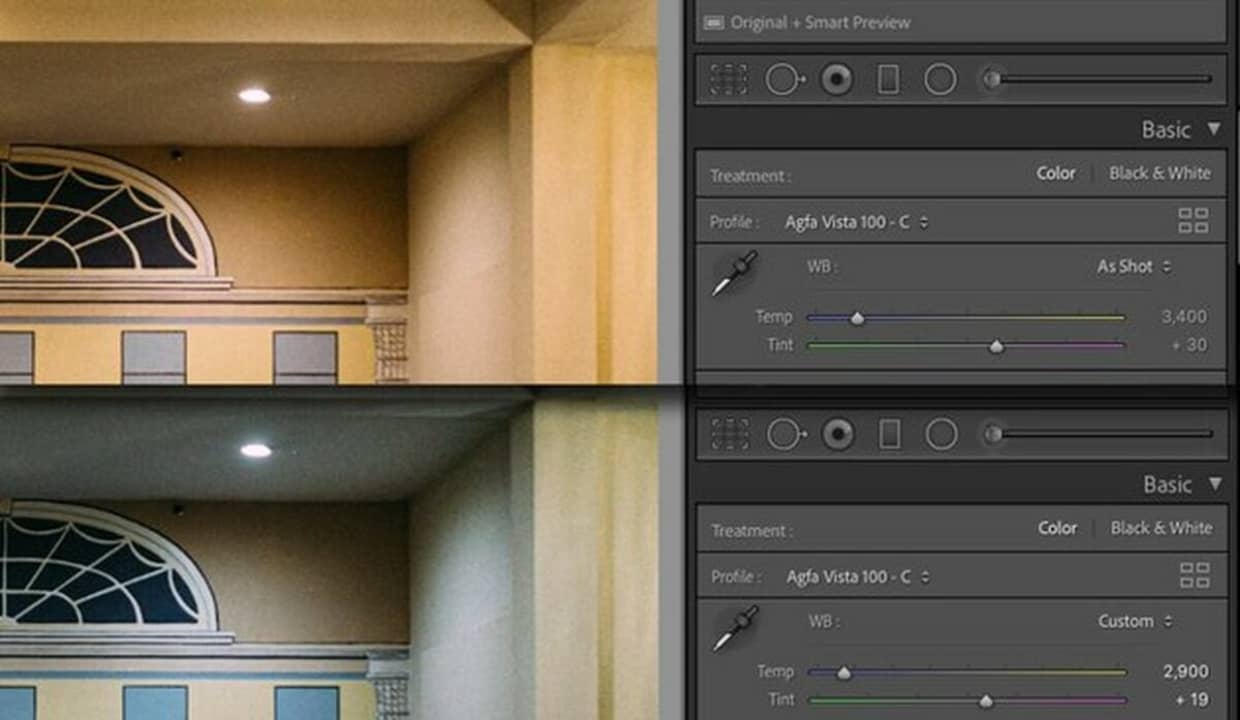
Beginning photographers commonly overlook this last step because they tend to underestimate the challenges of shooting in low-light settings. If the time is after sunset or recently you’ve moved indoors, a change like this may require a faster lens or a settings adjustment to avoid overly warm-looking images from an offset white balance.
If you neglected to address the white balance in-camera, the best way to correct this is by fixing it on the backend in Lightroom. There are two ways to accomplish this in the app. Most photographers use the Temperature and Tint sliders to restore the image’s original natural colors and intonations. You can also use the EyeDropper tool in the Color section of the Basic Panel. Now, find a white area within the image with your mouse. After you point the dropper and click on it, Lightroom will automatically adjust the white balance of the entire frame.
Lightroom lets you photograph in all kinds of situations
Depending on your camera and lens kit, you could potentially limit where and when you can produce high-quality images. Access to Lightroom and its impressive suite of editing tools means you can fix any photos you took in less-than-ideal lighting. Lightroom expands the areas where you can effectively shoot and will undoubtedly help set your photography apart from those who don’t use the app. For a no-cost alternative to Adobe’s photo editing tools, consider testing out PhotoScape for basic image retouching and more.

You may also like
 News
NewsFrench Tesla Owners Seek Legal Action as Cars Become Symbols of Far-Right Politics
Read more
- News
Affordable EV Coming Soon as GM Boosts Electric Vehicle
Read more
- News
Is it good to turn on the air conditioning right when you feel hot? AI has the answer
Read more
- News
Xiaomi Sets New Record for Fastest Production Electric Vehicle at Nürburgring
Read more
- News
Your Wi-Fi network could be at risk because of these cheap Android devices: here’s how to protect yourself
Read more
- News
Is your phone slow after an update? This might be the reason
Read more